Student Guide to Sonocent Audio Notetaker
Student Guide to Sonocent Audio Notetaker
Welcome to Sonocent!
Starting a New Project
Recording Audio
Recording from your computer’s speakers
Importing Audio
Importing from a digital recorder:
Importing from your computer:
Audio Notetaker Panes
Working with Audio
Syncing Slides or Images to Audio
Highlighting and Formatting Audio
Editing Audio
Annotating Audio
In the text and reference panes, you may type notes, copy/paste text and add links to
websites. You can copy and paste files into here to create hyperlinks.
Change the color, size, font and use bold, italic and underline.
Reading Annotations Aloud
Clean Audio & Scrub Background Noise
How to Create Study Guides
Staying Organized on Sonocent
Reviewing and Exporting a Project
1
Welcome to Sonocent!
This program allows you to get the most out of your classes and lectures, making it easy to
bring together your information and ideas by working with audio. With Sonocent, you don’t have
to worry about missing anything during lectures and meetings because you are able to record
them. In doing so, you can highlight important sections of audio and annotate in real time.
Additionally, you can mark parts of the sections you want to review later or use the highlighted
audio to make study guides.
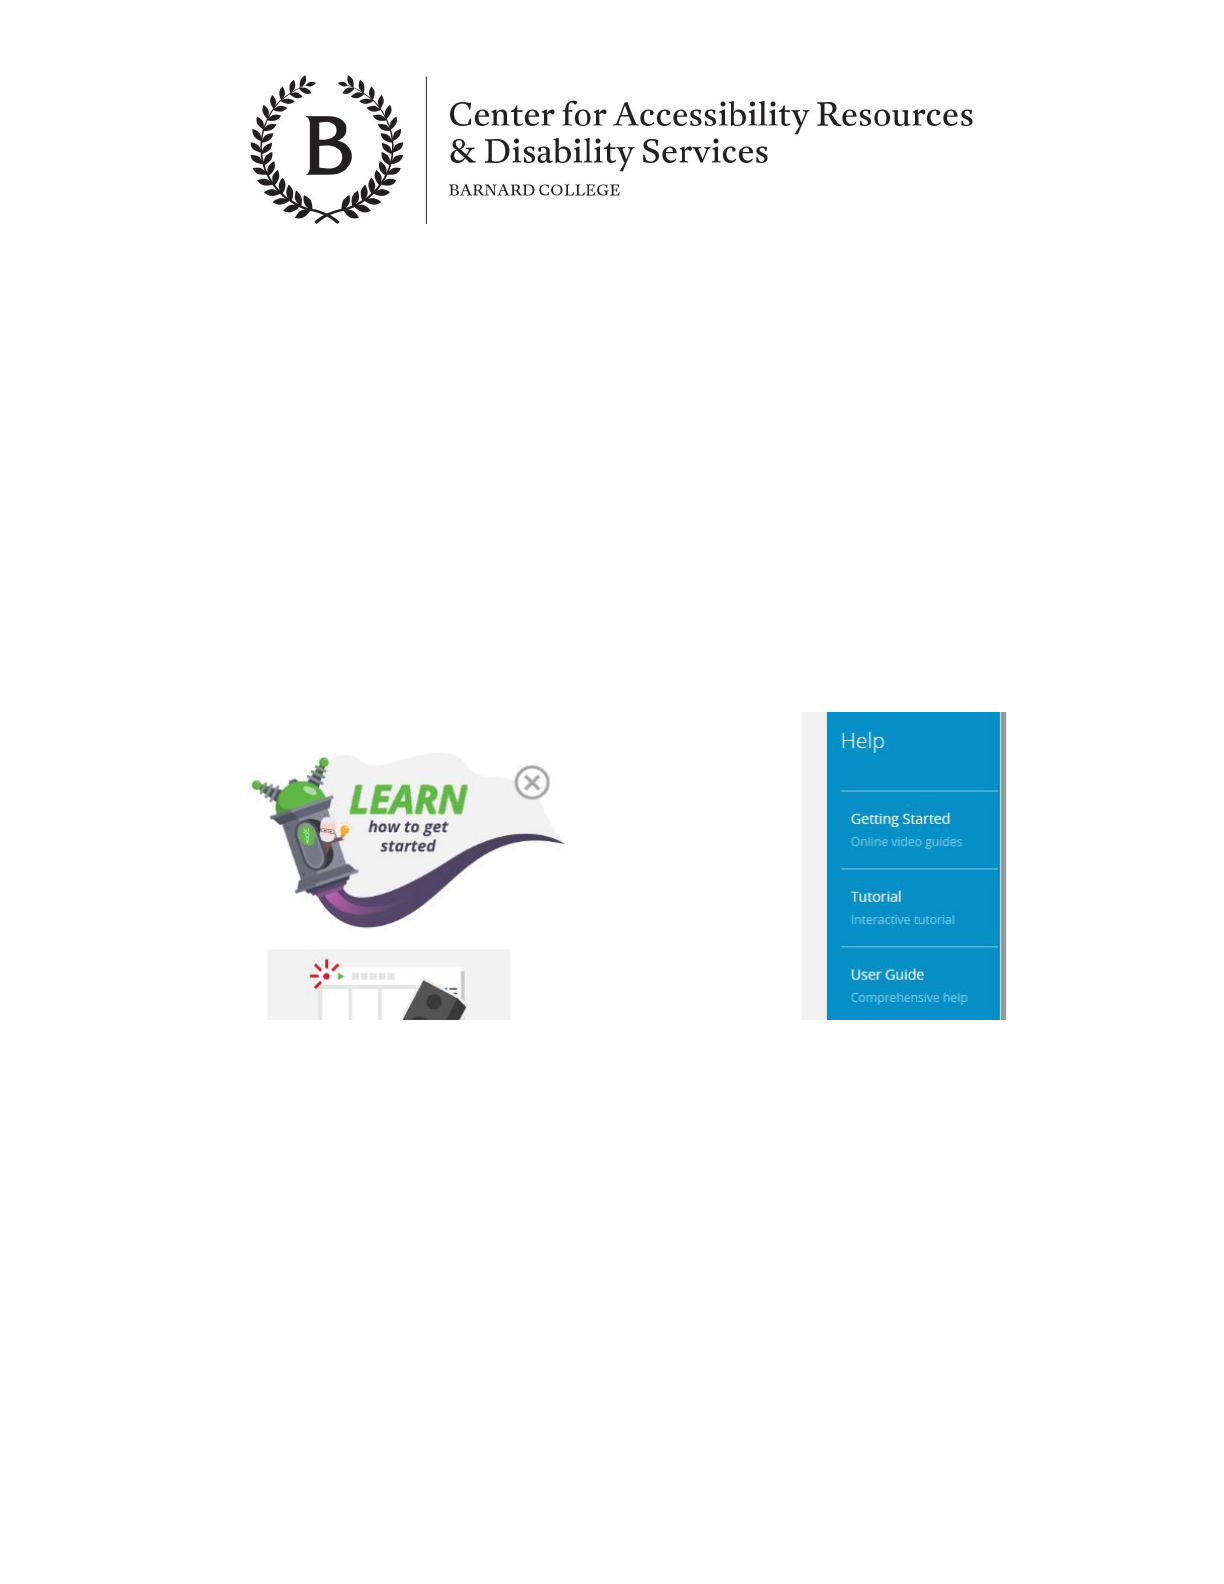
Once you have installed and activated Sonocent, If you have questions or just want to explore,
you can find plenty of information in the skills portal and the interactive tutorial found under
the “New Project” homepage. Using interactive videos, the site will walk you through all the
capabilities of the program for recording, playback, note-taking, using the app on an IOS tablet,
etc.
This guide will also help walk you through the most useful features of Sonocent.
Starting a New Project
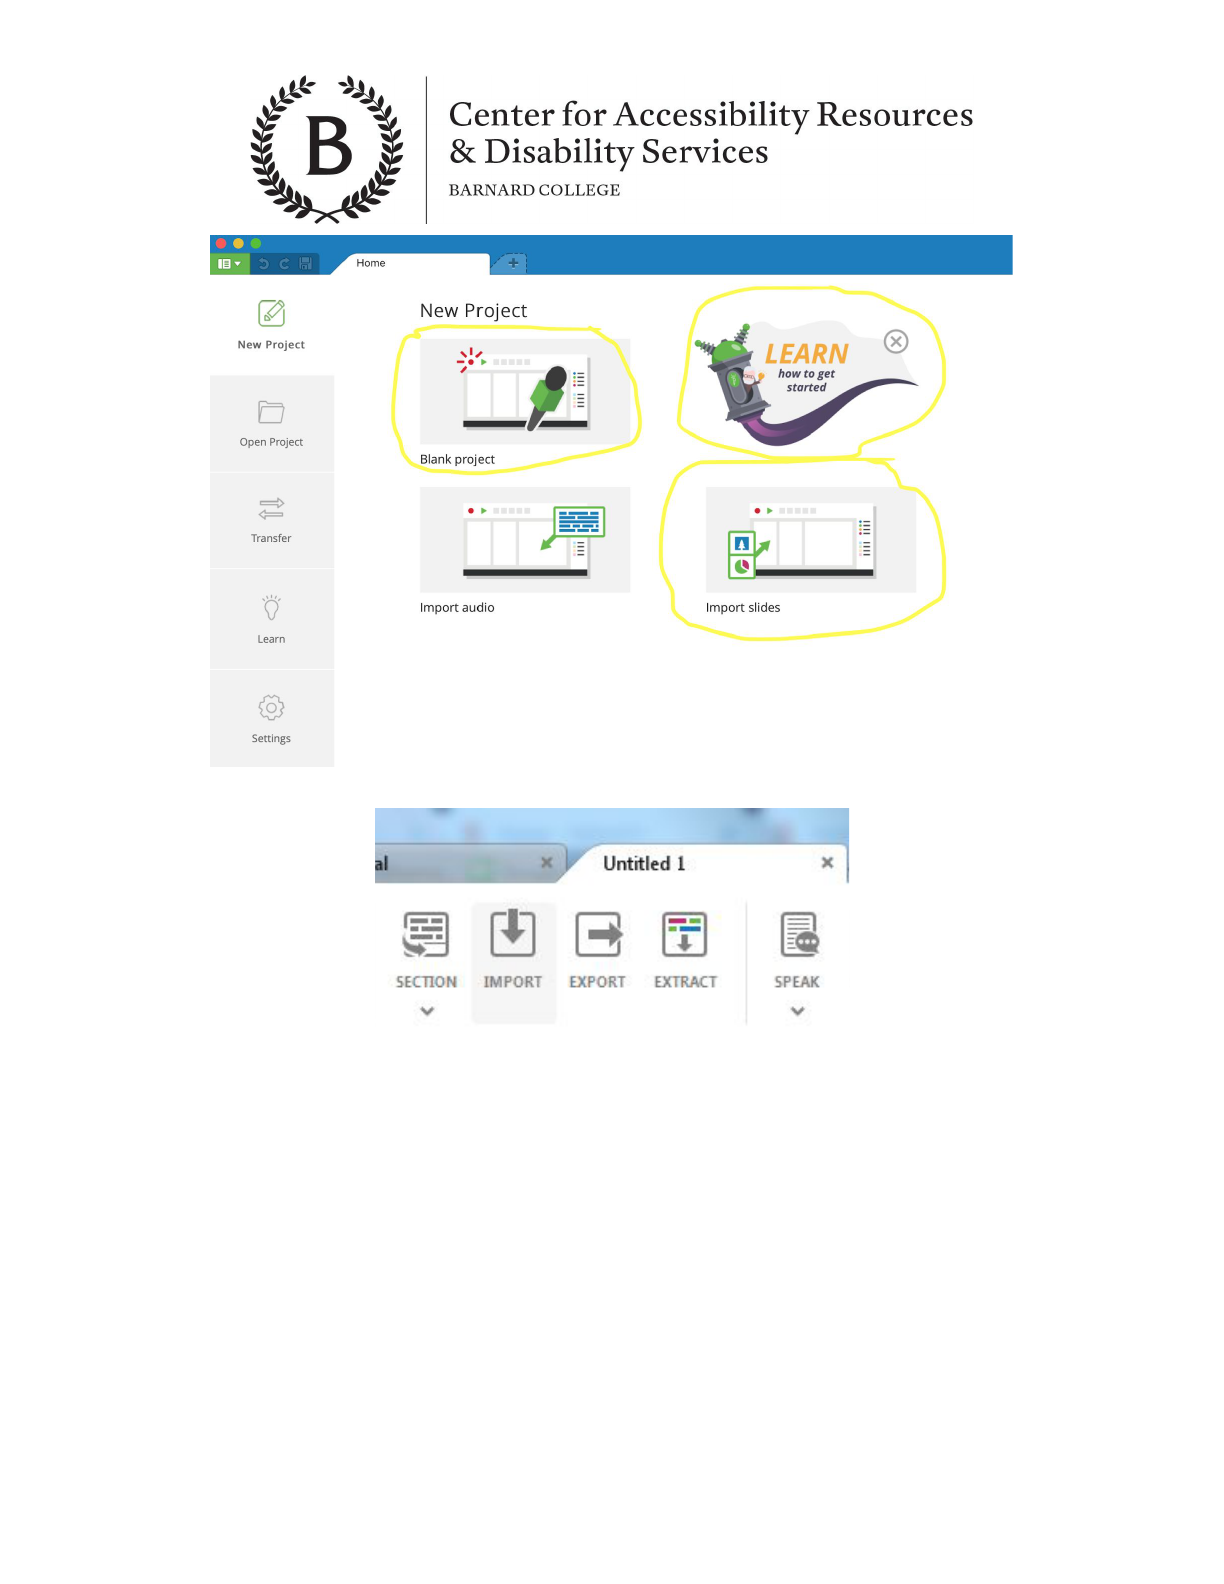
Projects are lectures or audio sections that you will record and manipulate. To start a new
project, begin at the “home” tab.
● If you do not have slides to begin with, select “blank project.”
● If you have slides for the lecture, import them before or after by selecting “import slides”,
or by clicking “import” at the top of your new project.
2
● Once the slides are imported, you can add audio by importing or recording a live lecture.
Recording Audio
You can record audio from three potential sources: live recording, recording using your
computer’s speakers, and importing audio. Please refer to the Importing Audio section for more
information.
● Live recording captures sound coming into your computer’s microphone.
● Recording from your speakers captures any audio coming into your computer from
videos, webinars, or video conferencing, such as online lectures. To select whether to
record from microphone, speaker, or both, click the dropdown menu under the record
button.
3
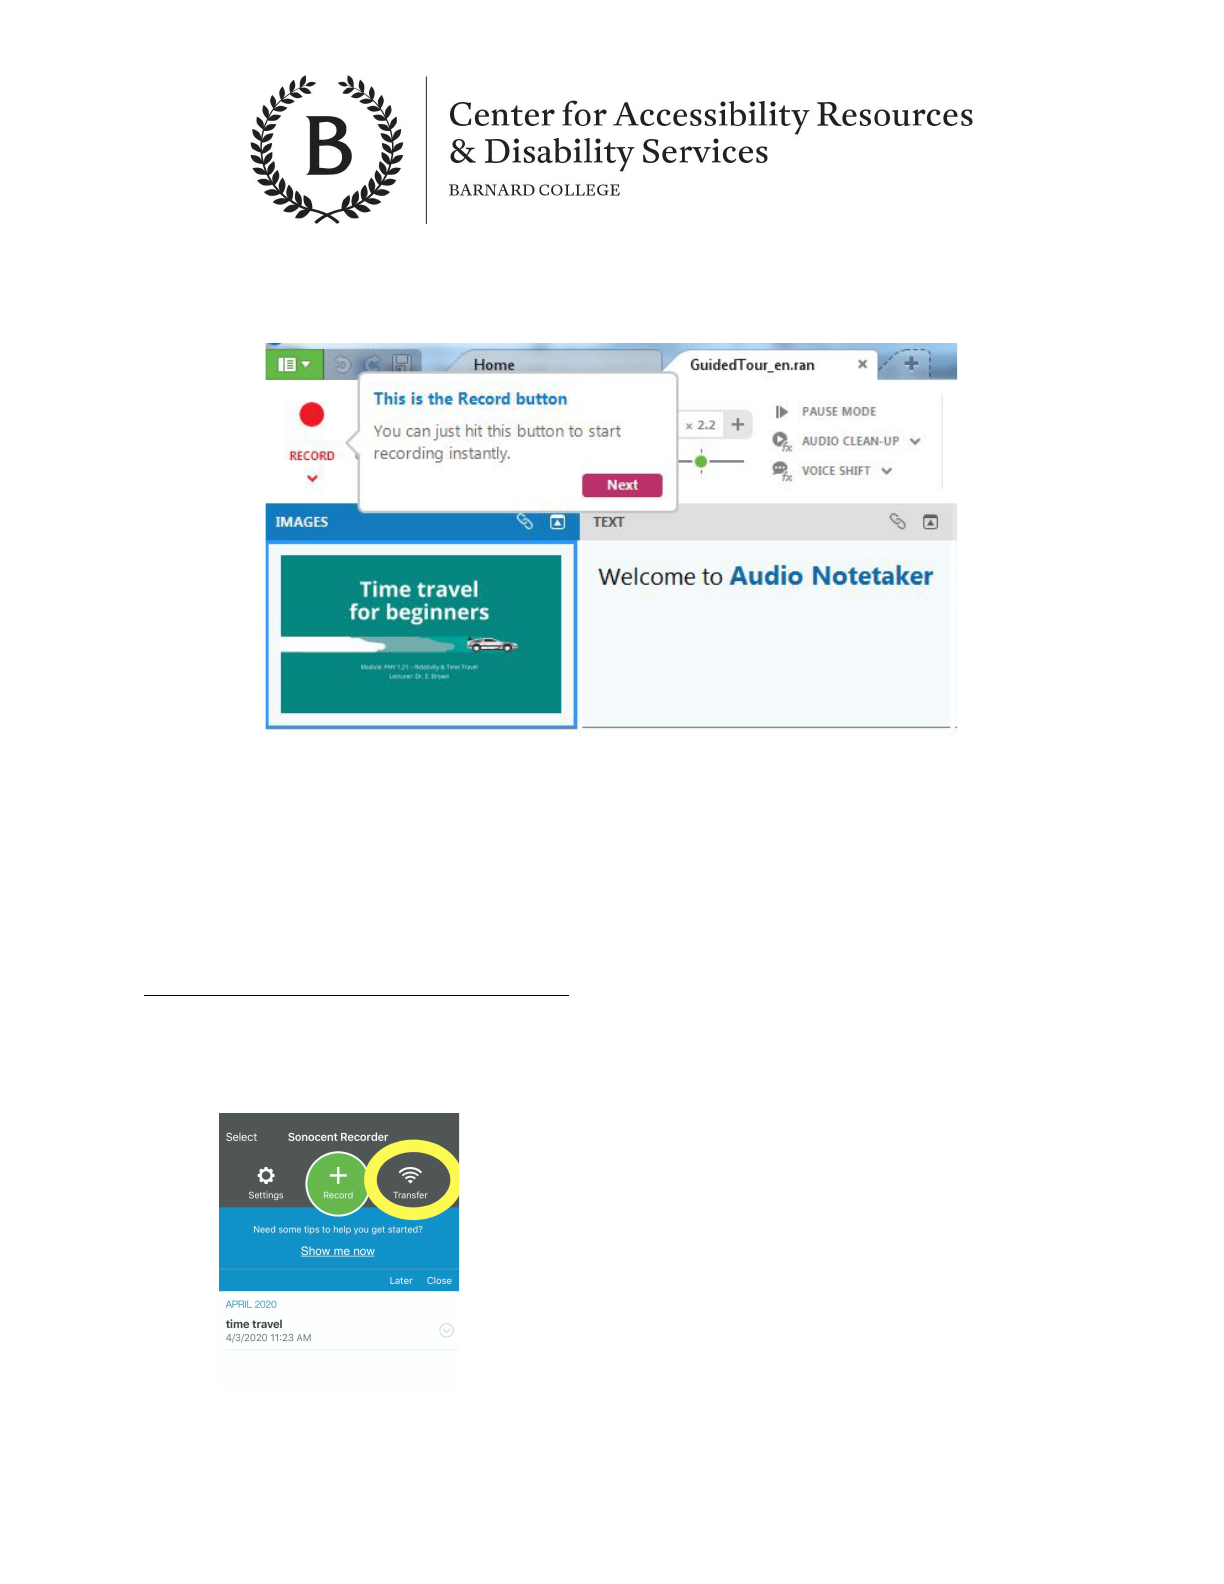
Recording from your computer’s speakers
When the lecture begins, click the red “record” button.
Importing Audio
In Sonocent, you can import Audio from many sources. In this section, we will go over how to
import audio from three common sources: from the Sonocent Recorder App, from a digital
recorder and from your computer.
Importing from the Sonocent Recorder App:
1) Download the Sonocent Link(Reader) app from the app store.
2) Open the Sonocent Recorder App and press the Transfer button on the top right.
4
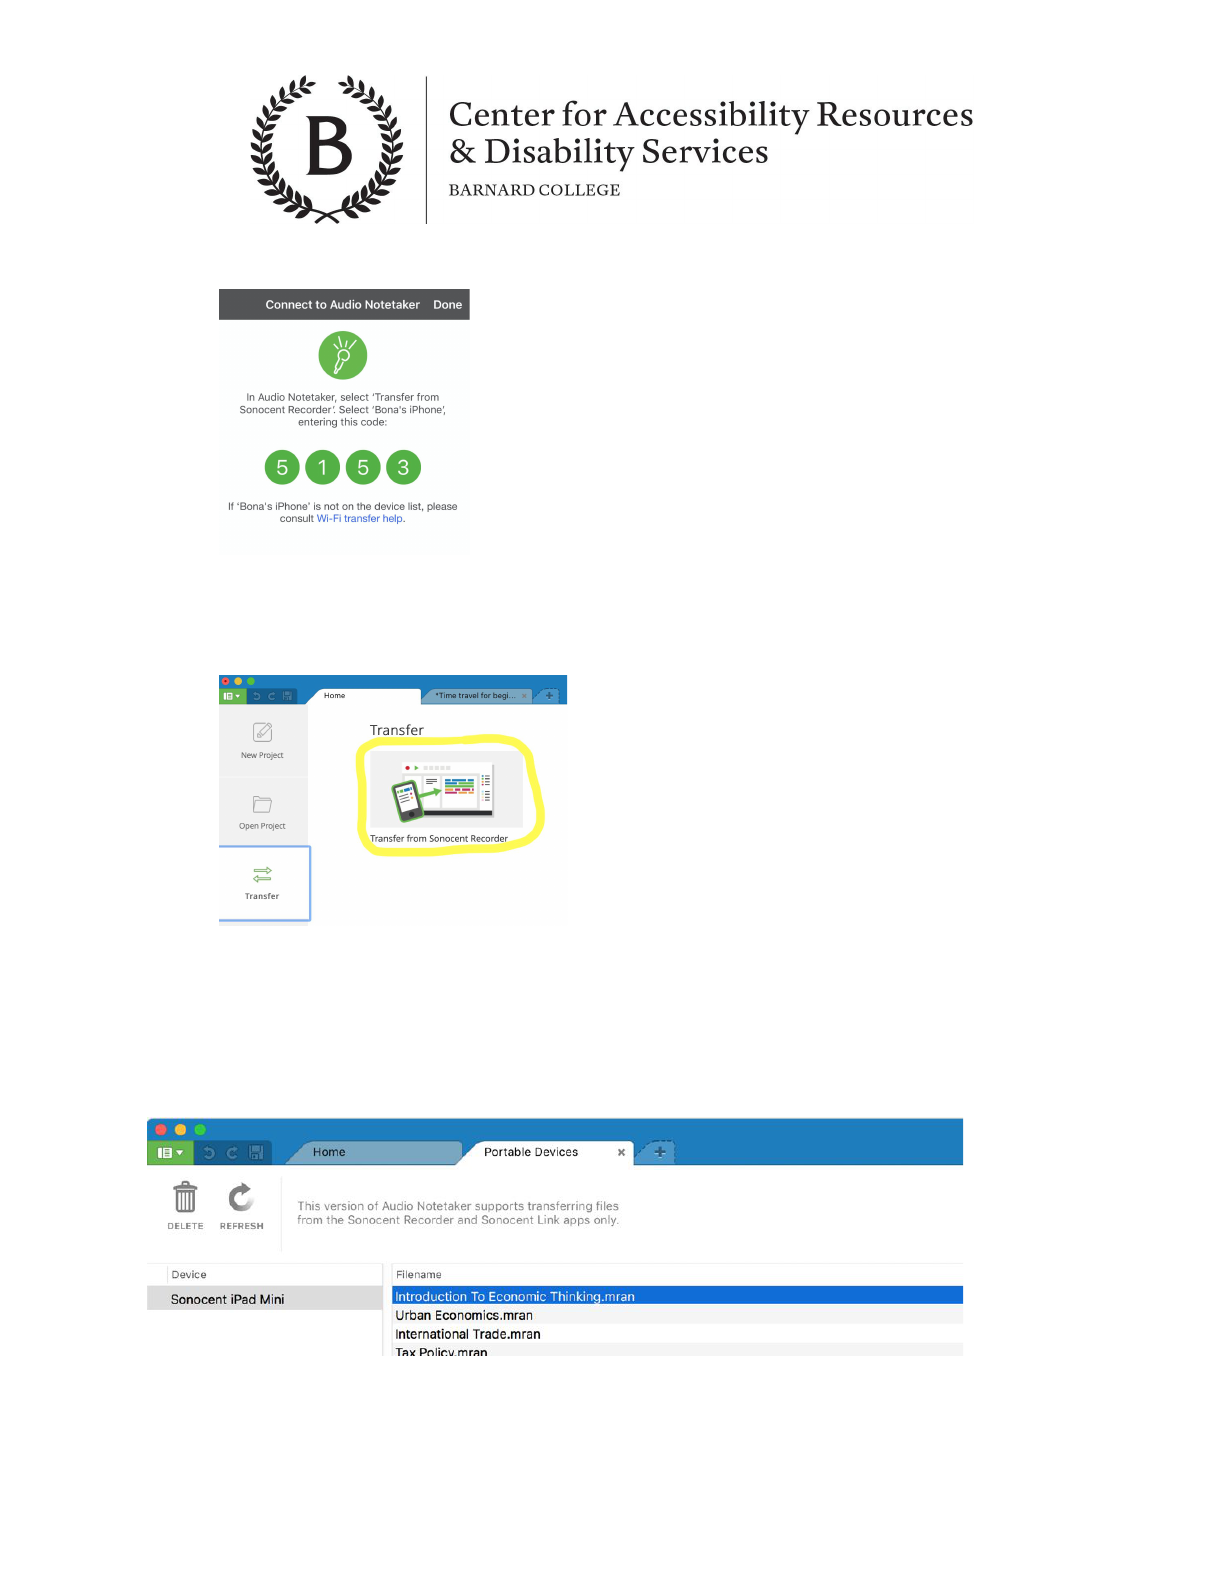
3) You will be taken to the app’s transfer page, showing a four digit code.
4) Open Audio Notetaker. Hit the transfer tab on the left and click on “Transfer from
Sonocent Recorder. This will take you straight to the Portable Device Manager.
5) After a few seconds, your device will show up in the left pane marker “Device.” Click on
your device and enter the 4 digit code from the Sonocent Recorder App. When
connected, you will see all the files on your device available. Click the file you want to
import.
5
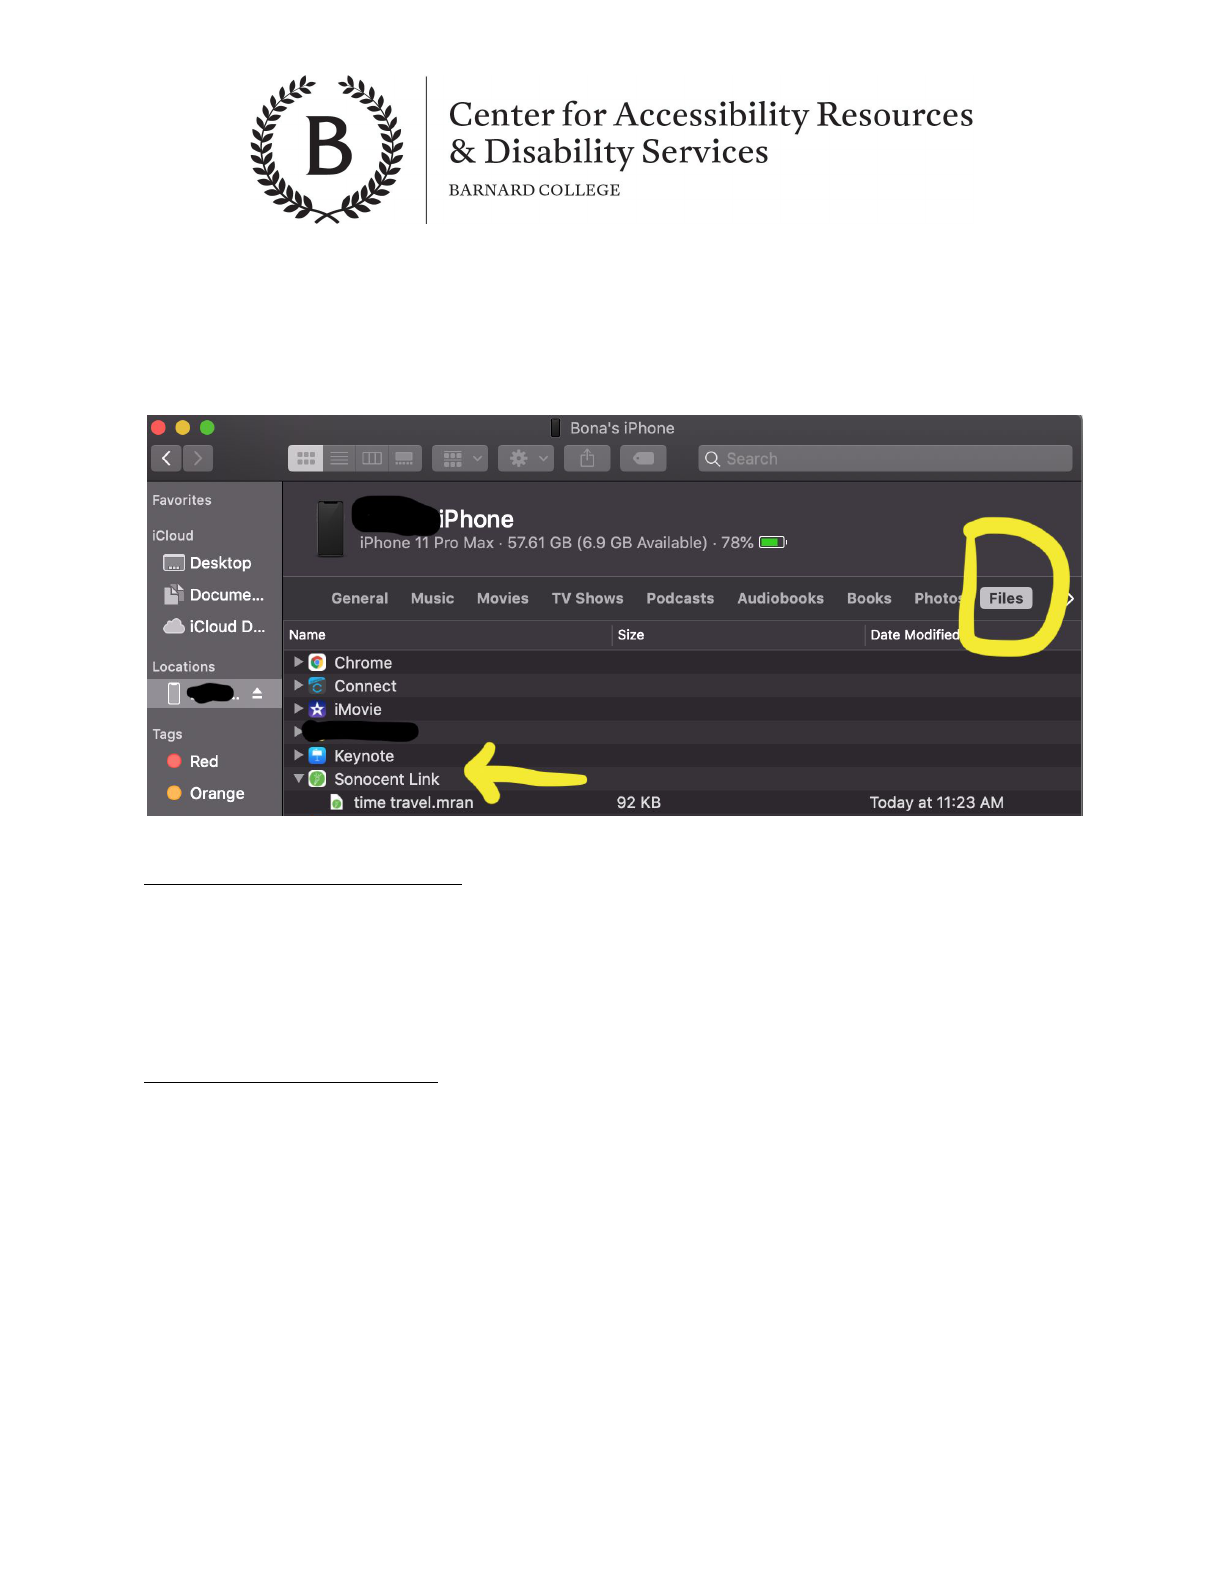
*If you don’t see your device, make sure that your device is on the same wifi as your computer.
Also, Apple Bonjour or iTunes must be installed on your computer. If you updated your mac ios
to Catalina, rather than using itunes, you can access your device through Finder. Just connect
your device to the computer, hit Finder to sync. Then hit Files at the top and select Sonocent
Link and click the file you want to import.
Importing from a digital recorder:
If you have used a digital recorder to record audio, you will need to transfer the audio files to
your computer, using the manufacturer's recommended process. Once the audio files have
been transferred, you can import them to either an existing project or a new project. To do this,
simply, hit the “import” button on the toolbar.
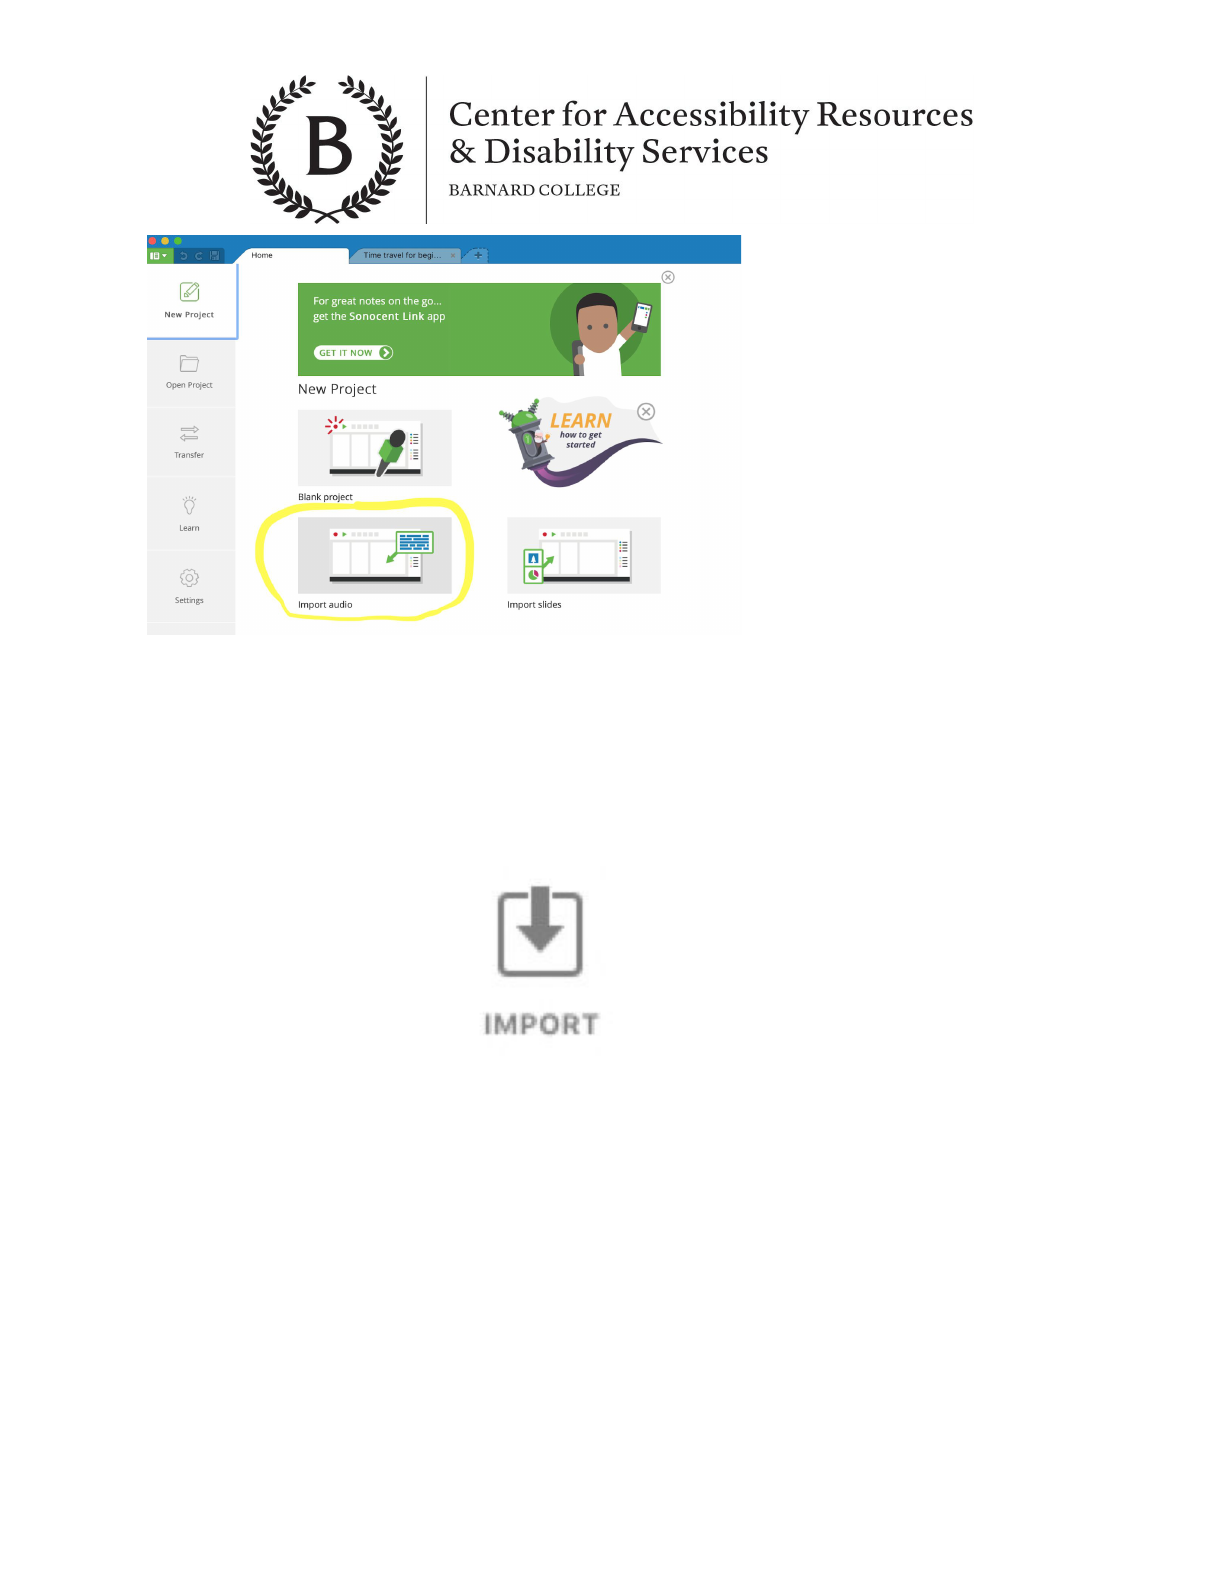
Importing from your computer:
To add audio to a new project, from the home tab, select New Project on the left side of the
panel and hit Import Audio. Select the audio file you want to import and a new project with the
selected audio will be created.
6
To add audio to an existing project, click the import button and select Import Audio to browse
and select the desired audio file.
You can import multiple files. Just remember to select all the files you want to import. A
progres bar will be shown to show how much of the import has been completed.
7
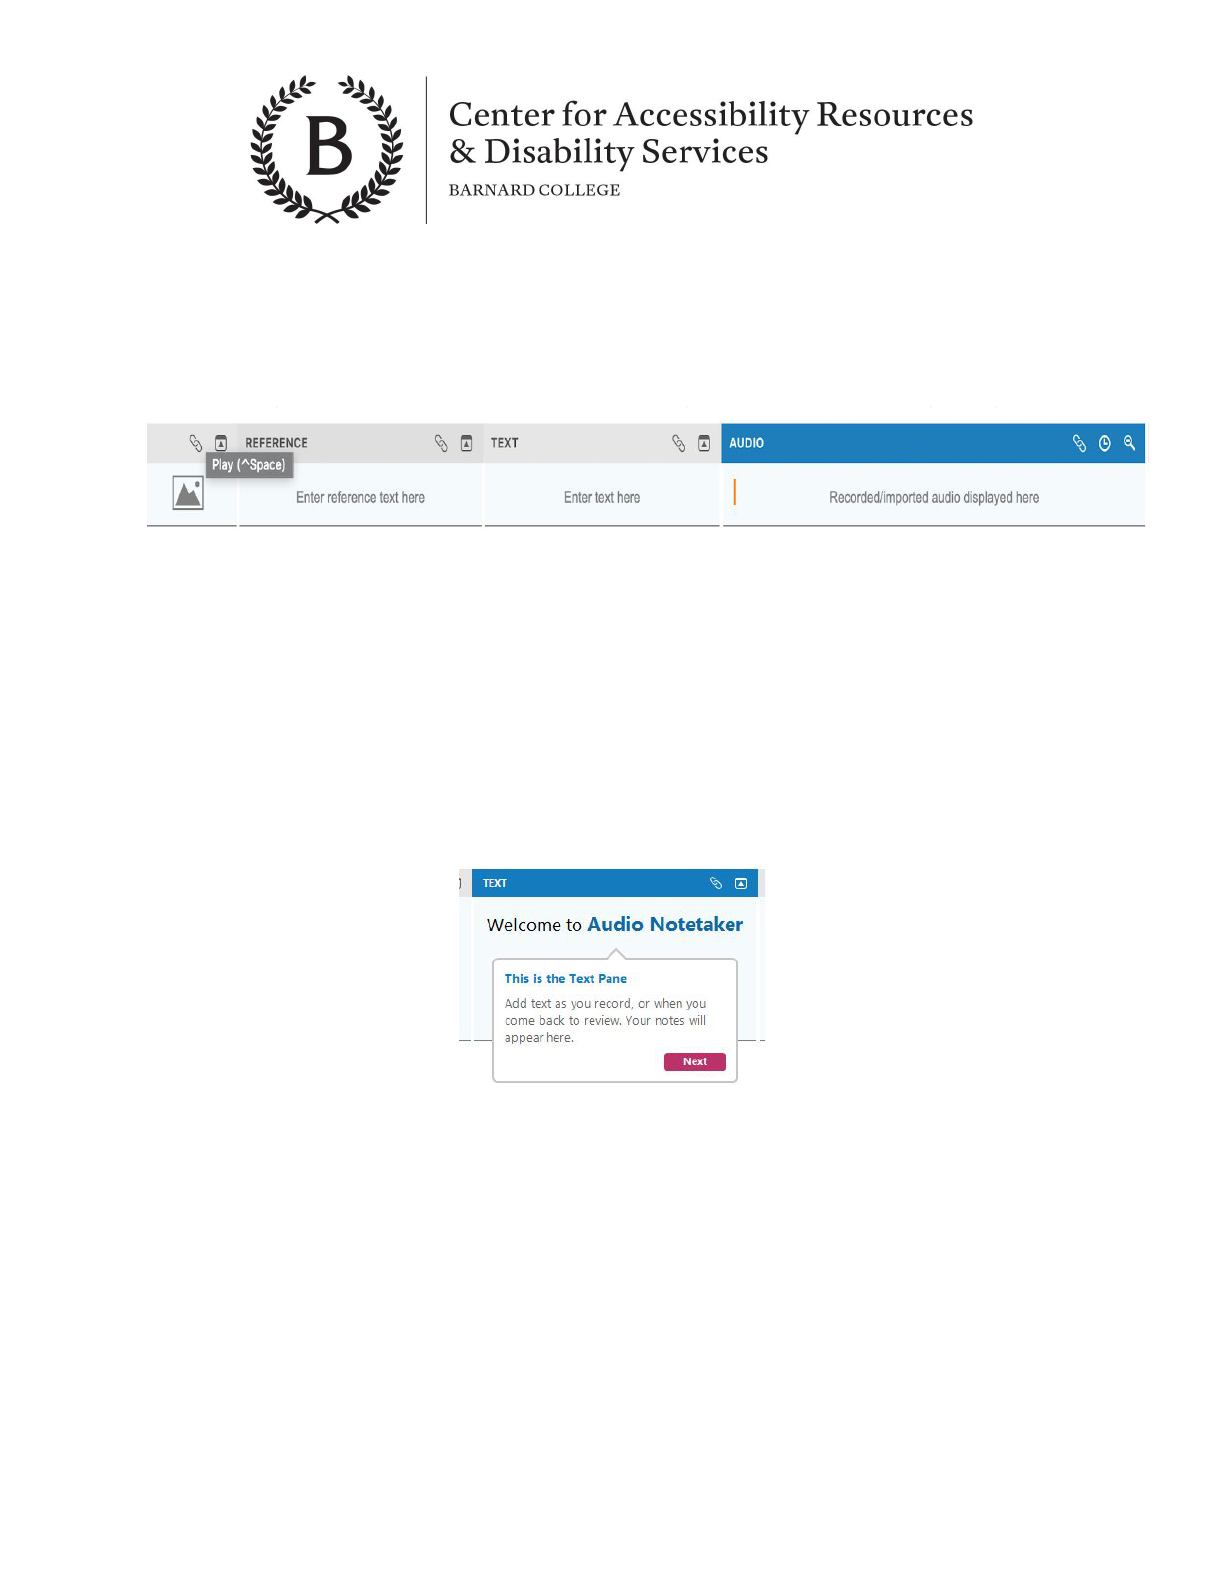
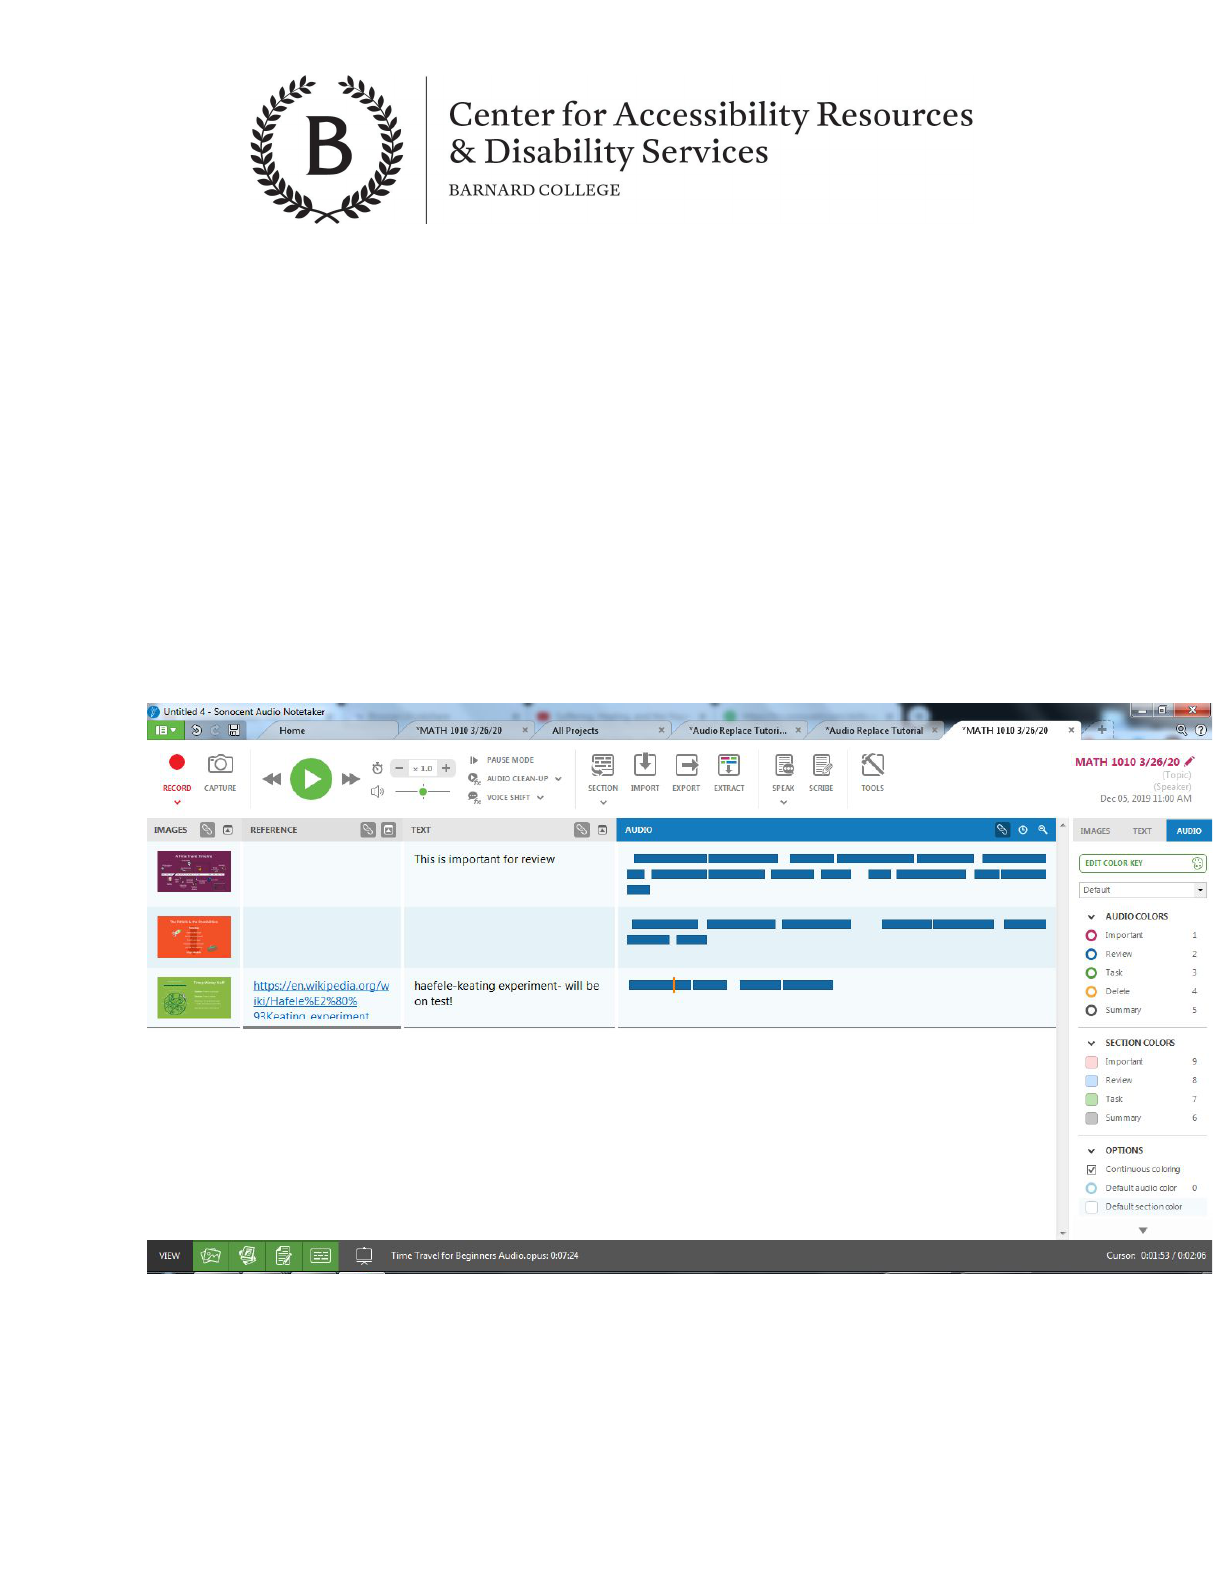
Audio Notetaker Panes
Audio Notetaker displays information in four interactive columns called panes: images,
reference, text and audio. When active, the pane header will be blue. This means the keyboard
shortcuts are for actions taken in this pane.
There are 4 panes:
1. Images
2. Reference
3. Text
4. Audio
Image pane is where your pdf/ppt slides will be imported. Reference and text panes allow
you to add text annotations.
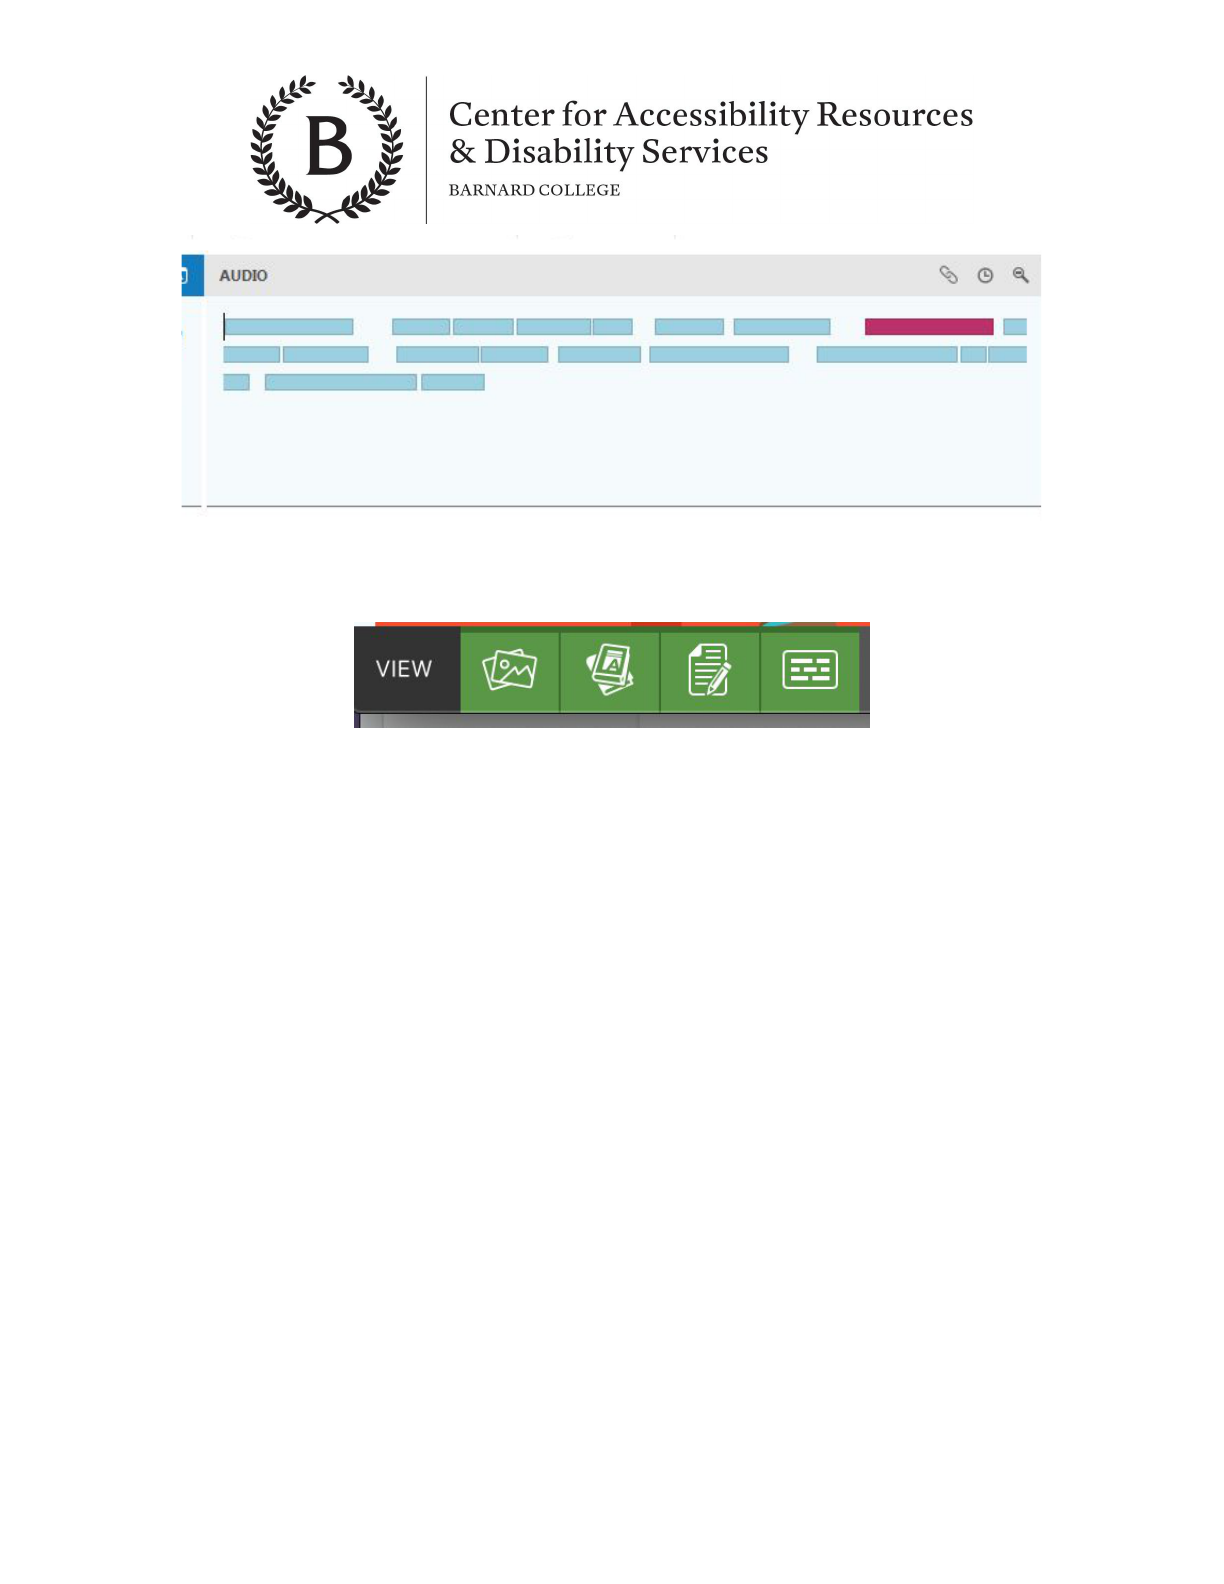
The audio pane is where the audio recording is converted to “audio chunks,” which look like
this:
8
-When going over your notes, it is useful to have all four layers of notetaking open, especially
when you are editing. To do so, make sure all four of these boxes are highlighted green.
The sidebar down the right-hand side changes depending on which pane is active.
Resize the panes by dragging the edges left and right.
Working with Audio
After the audio from your lecture is recorded, Sonocent has many functions to help you keep
information organized and working for you.
For Playback controls, use the toolbar buttons to control playback, or click in the audio and
press SPACE.
Syncing Slides or Images to Audio
While recording or playing, simply press the enter key or the “section” button at the top of the
page when the professor moves onto the next slide. This will sync audio sections to each slide
or image in the image pane.
9
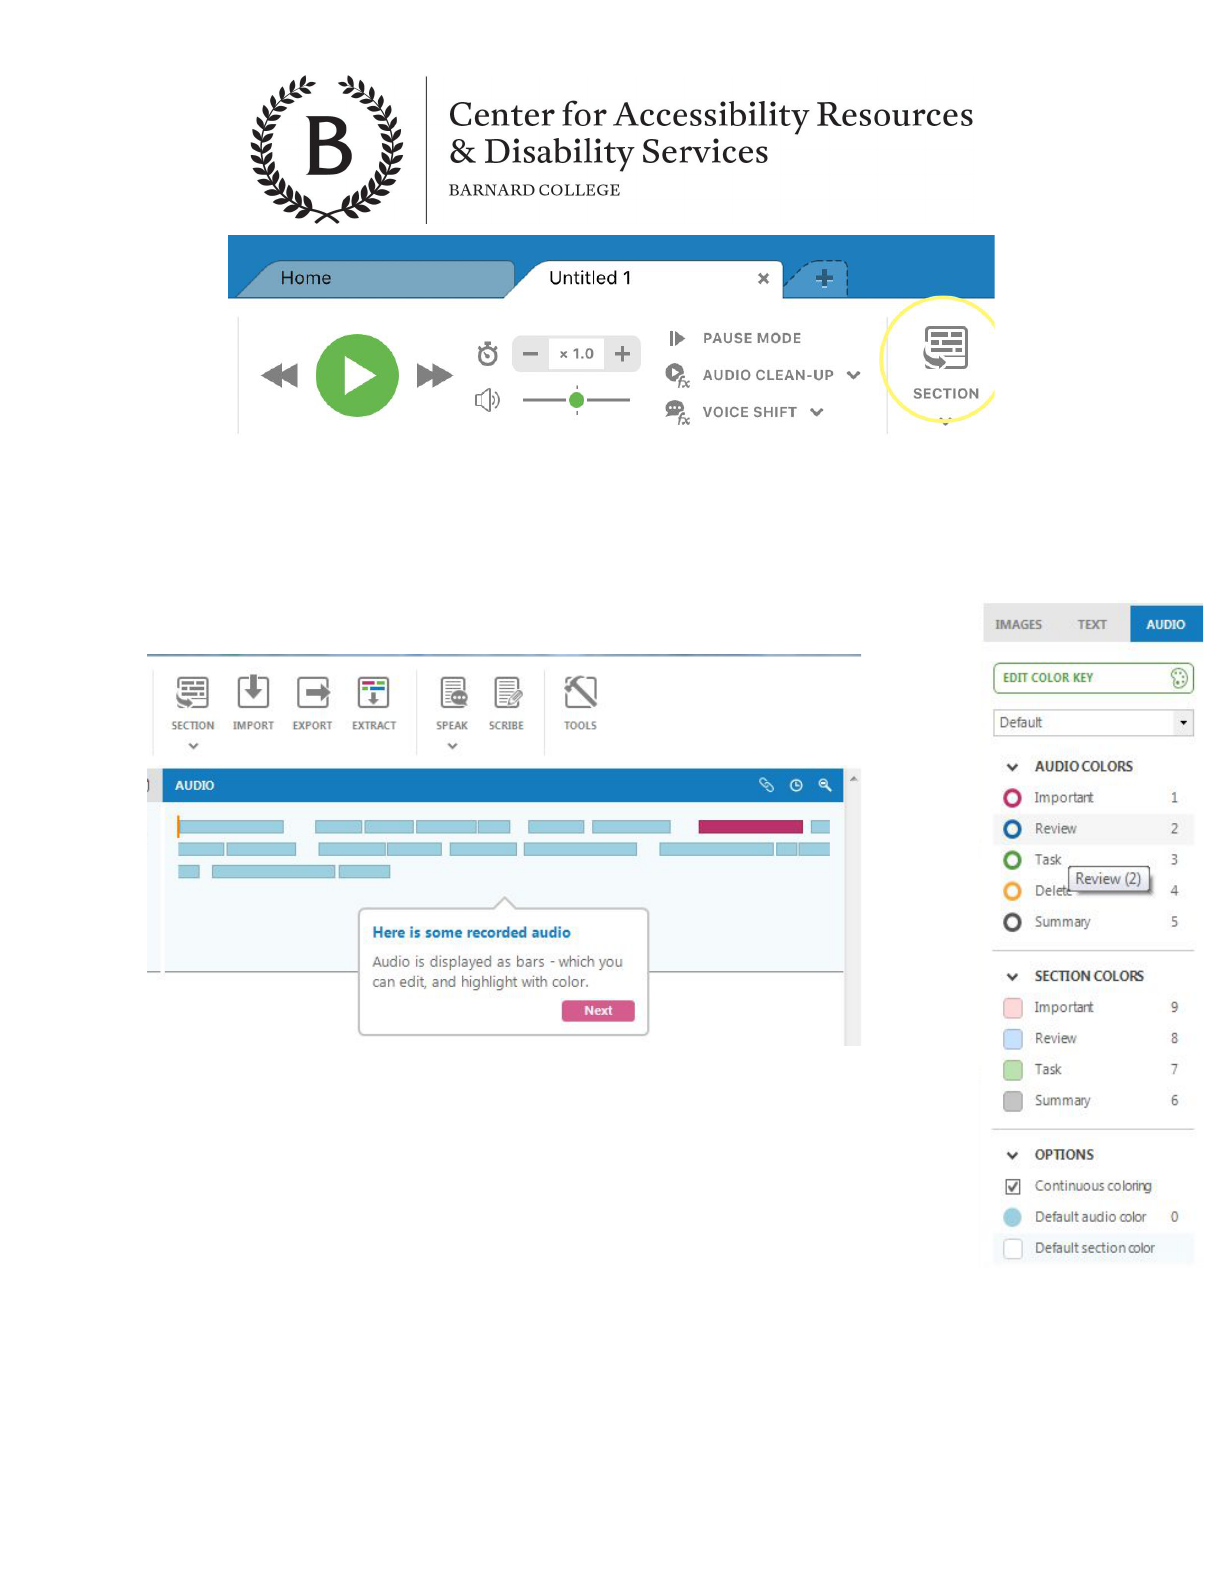
Highlighting and Formatting Audio
Sonocent allows you to manipulate color code audio just like written notes. In the
audio panel, when you highlight parts of the audio within a section, a menu of colors
will appear on the right hand side of the screen. You can choose to color code
different parts of a section using “audio colors” or choose to color an entire section
using “section colors”. If you want to create your own color code, you can hit the
green button, “edit color key.”
Next to these colors, you will also see numbers. These are your shortcuts. For example, while
recording, you can press “Ctrl+1” to start highlighting important information.
The Audio Pane must be active in order to use single button shortcuts (1-5 For Chunk coloring
[0 to return to default] 6-9 for Section coloring).
10
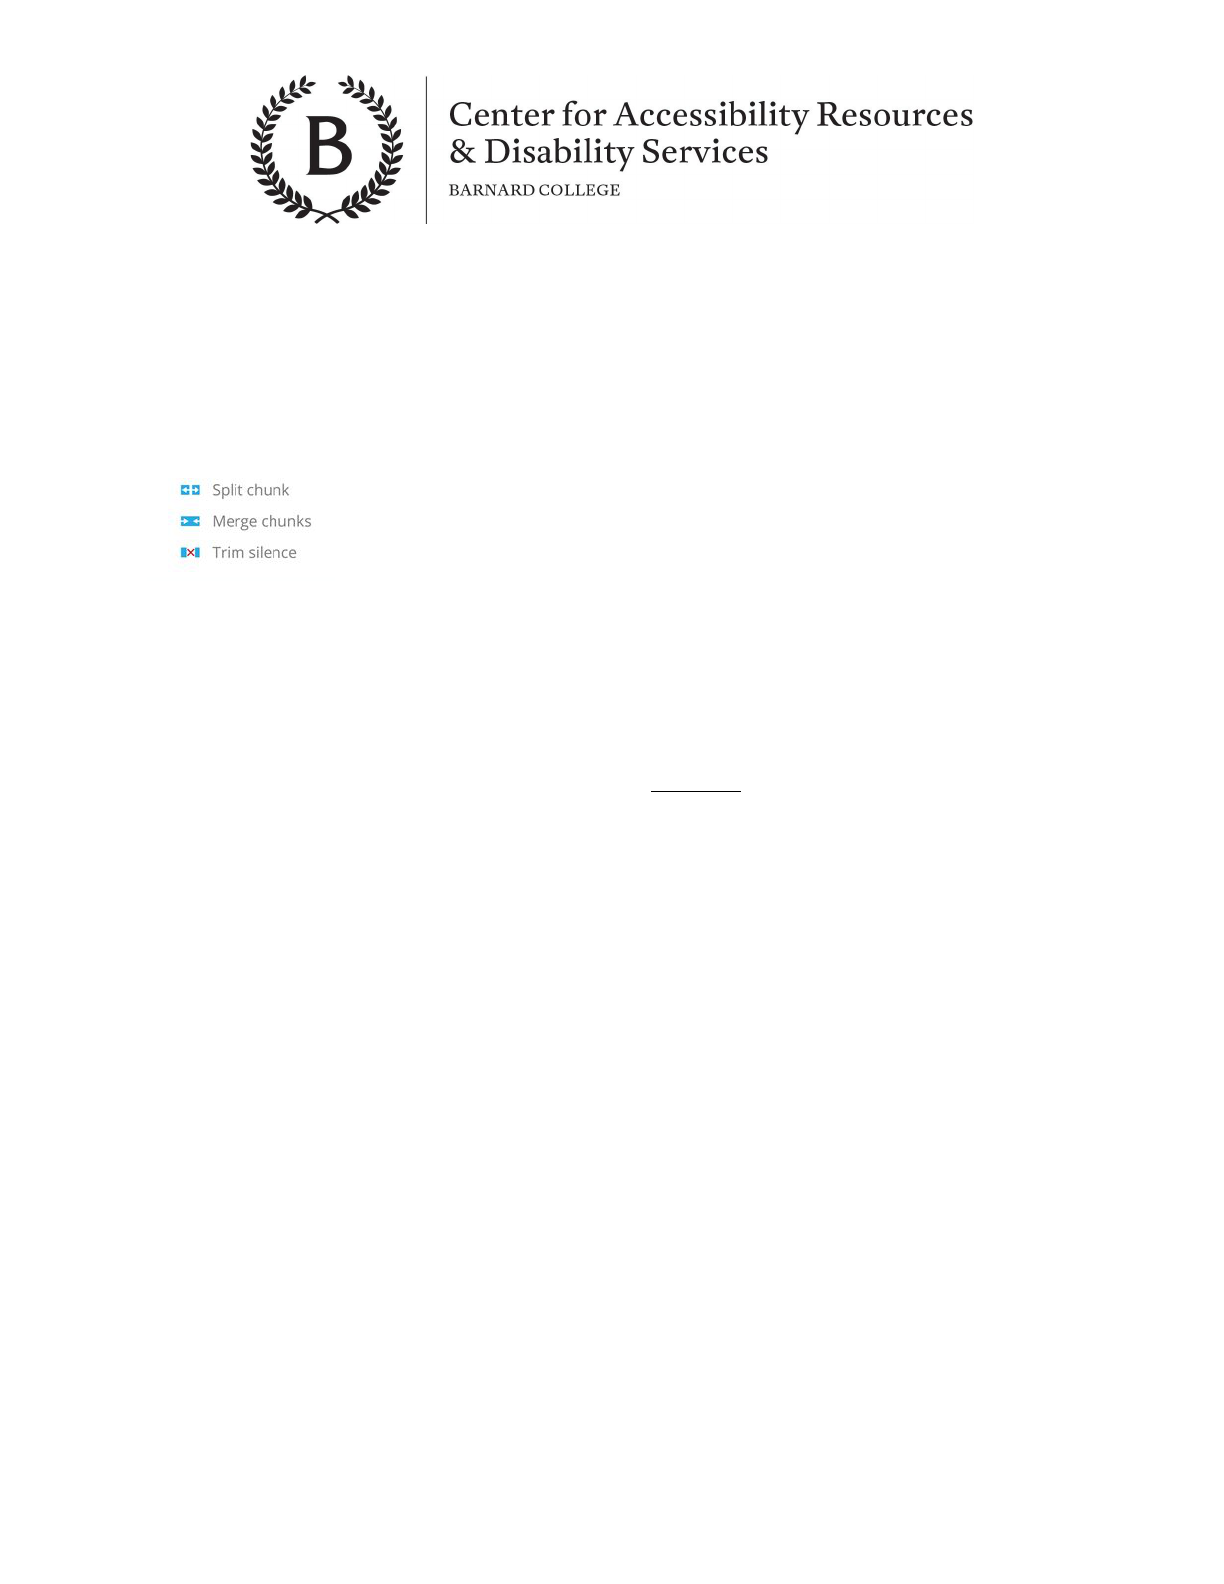
Editing Audio
You can right-click on chunks to cut/copy/paste/delete, select chunks and drag them around to
move them, and you can split and merge chunks. All these options can be found on the sidebar.
Annotating Audio
In the text and reference panes, you may type notes, copy/paste text and add links to websites.
You can copy and paste files into here to create hyperlinks.
Change the color, size, font and use bold, italic
and underline.
11
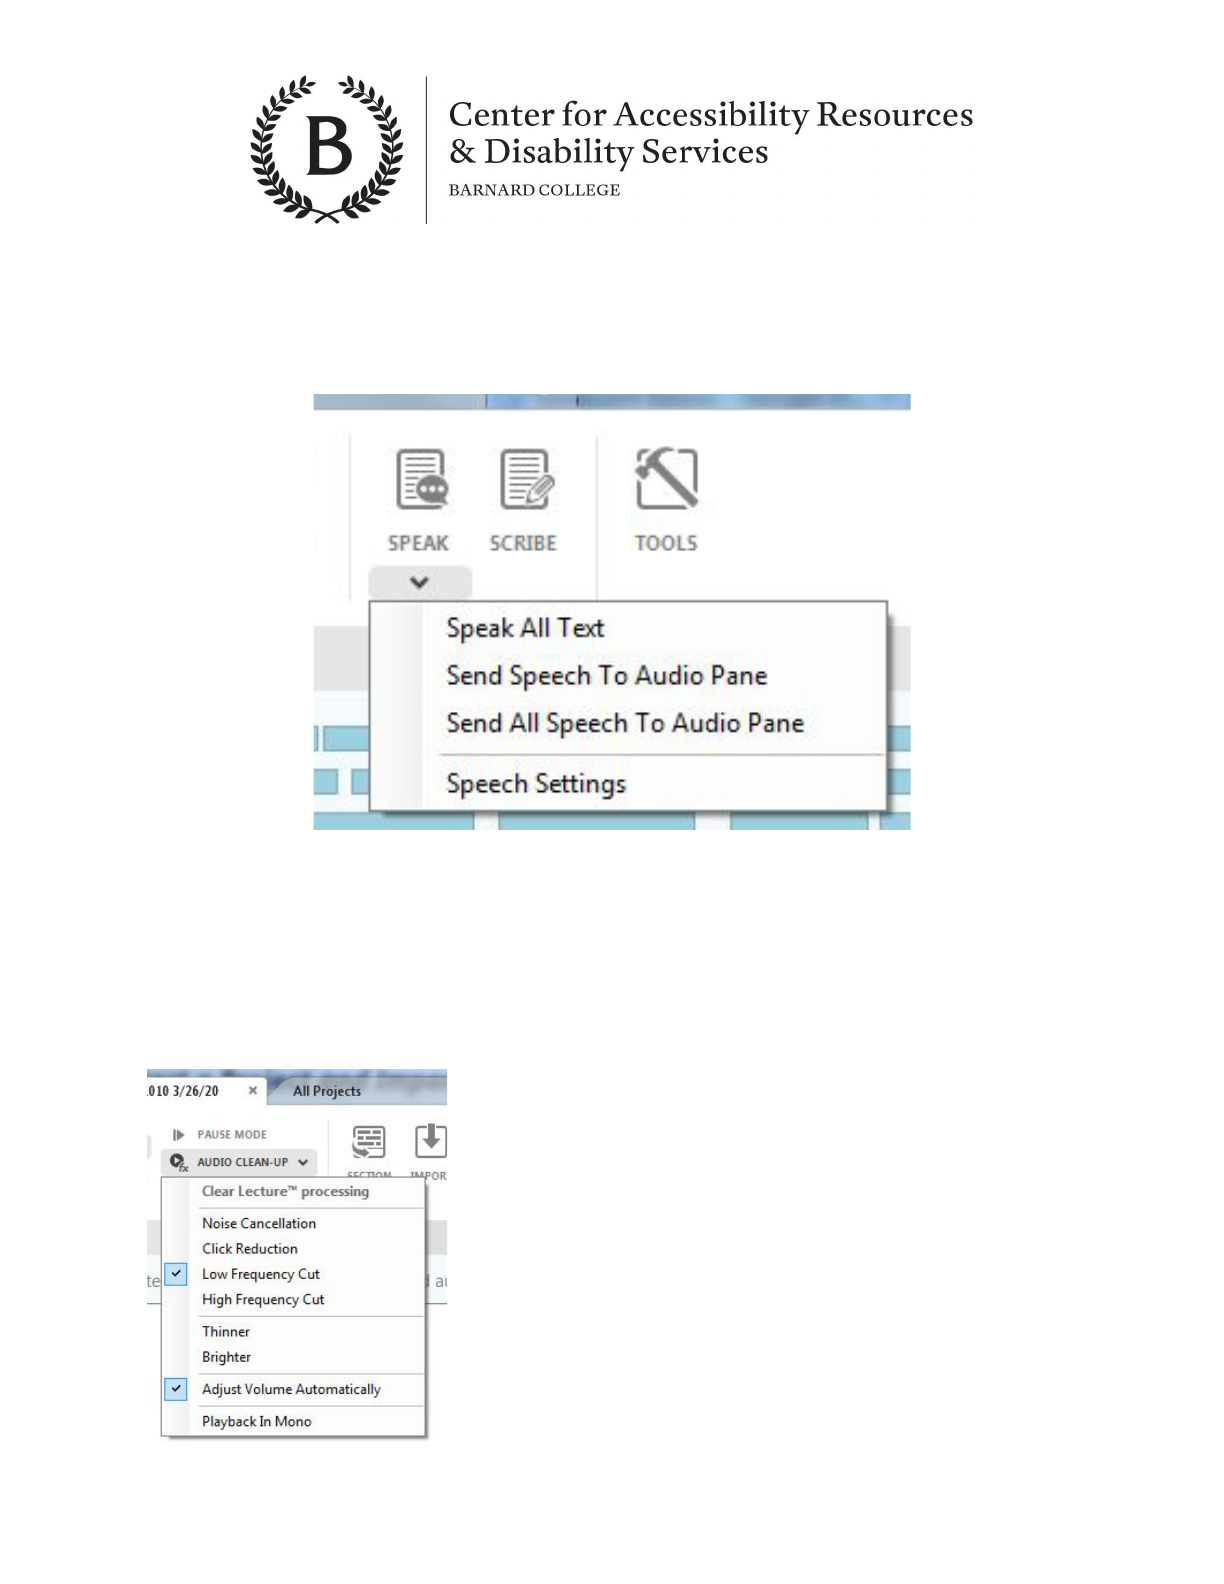
Reading Annotations Aloud
If you want Sonocent to read aloud your annotations in the text pane, select the text you want to
hear, and click the “speak” button in the menu at the top of your screen. If you click the
dropdown under “speak,” it will give the option to read aloud all your text.
If you use Dragon Software:
Use Scribe to activate Dragon NaturallySpeaking and transcribe your audio recordings.
Clean Audio & Scrub Background Noise
If the audio is not clear, you can adjust the voice quality.
Click “audio clean up” at the top center of your screen, and
select your action from the dropdown menu.
“Click Reduction” minimizes any typing noises picked up in
your recording.
“Noise Cancellation” cancels background noise picked up in
your recording.
12
How to Create Study Guides
You can extract the different colors of audio to create task lists, study guides, review questions
or anything else.
● Click “Extract” at the top, and select “extract audio.” This will start a new project using
just the extracted audio.
● Choose what type of information you want to isolate. For example if you want a list of
tasks from your professor, deselect all the colors except green, extract, and save the
new project as a “To-Do List for Course X 4/1/20”
In this window, only “review” color audio has been extracted, notes are written in the text section
alongside the audio, and references where needed. These sections of audio marked for review
have become a useful study guide.
13
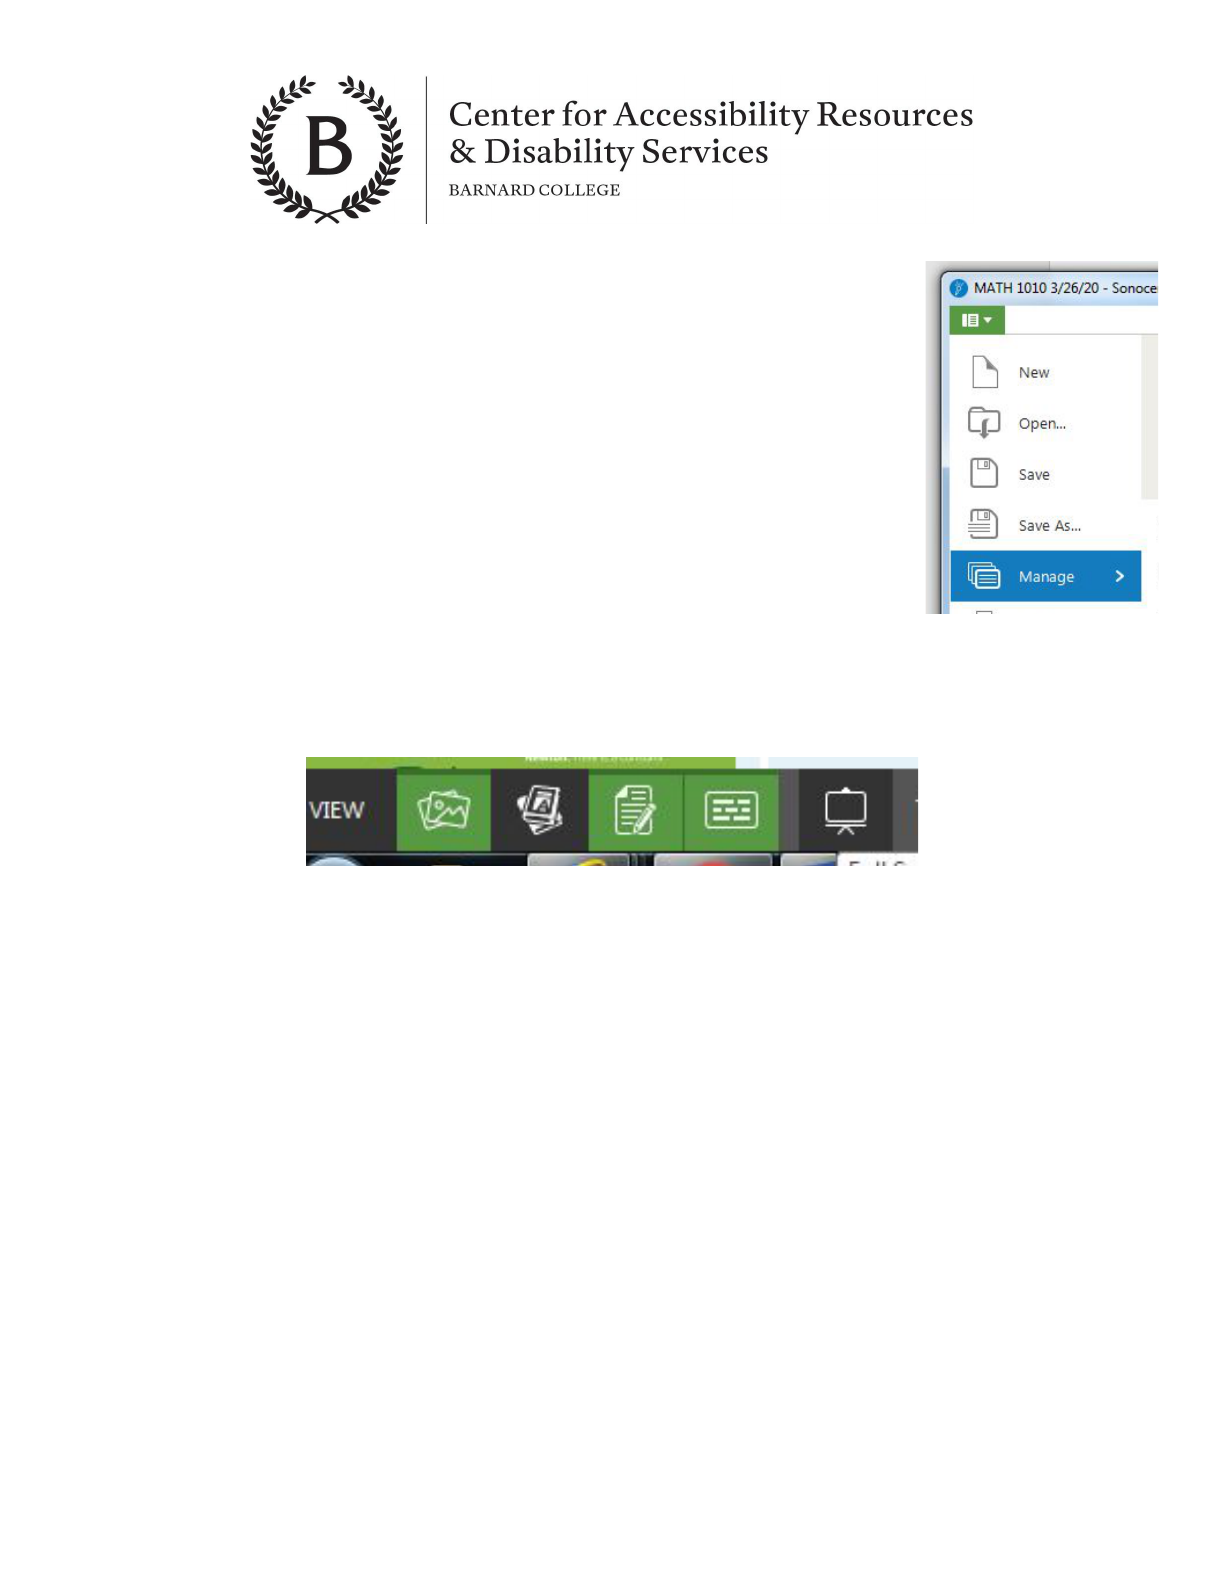
Staying Organized on Sonocent
Remember to label and save each lecture with the name of the class and
date. Example: MATH BC1010 3/26/20. You can do this by clicking the pink
edit symbol at the top right corner and entering the details. You can organize
your projects by clicking the green file symbol at the top left corner, and
selecting “manage.” To save a project to your computer, click the “save as”
button from the same dropdown menu, naming it as above, and locating it
somewhere you can easily find, such as a file for your class.
Reviewing and Exporting a Project
If you want to view a project without the distraction of the toolbar, click the “Presentation mode
icon in the bottom left, for full-screen audio playback with images and annotations.
14
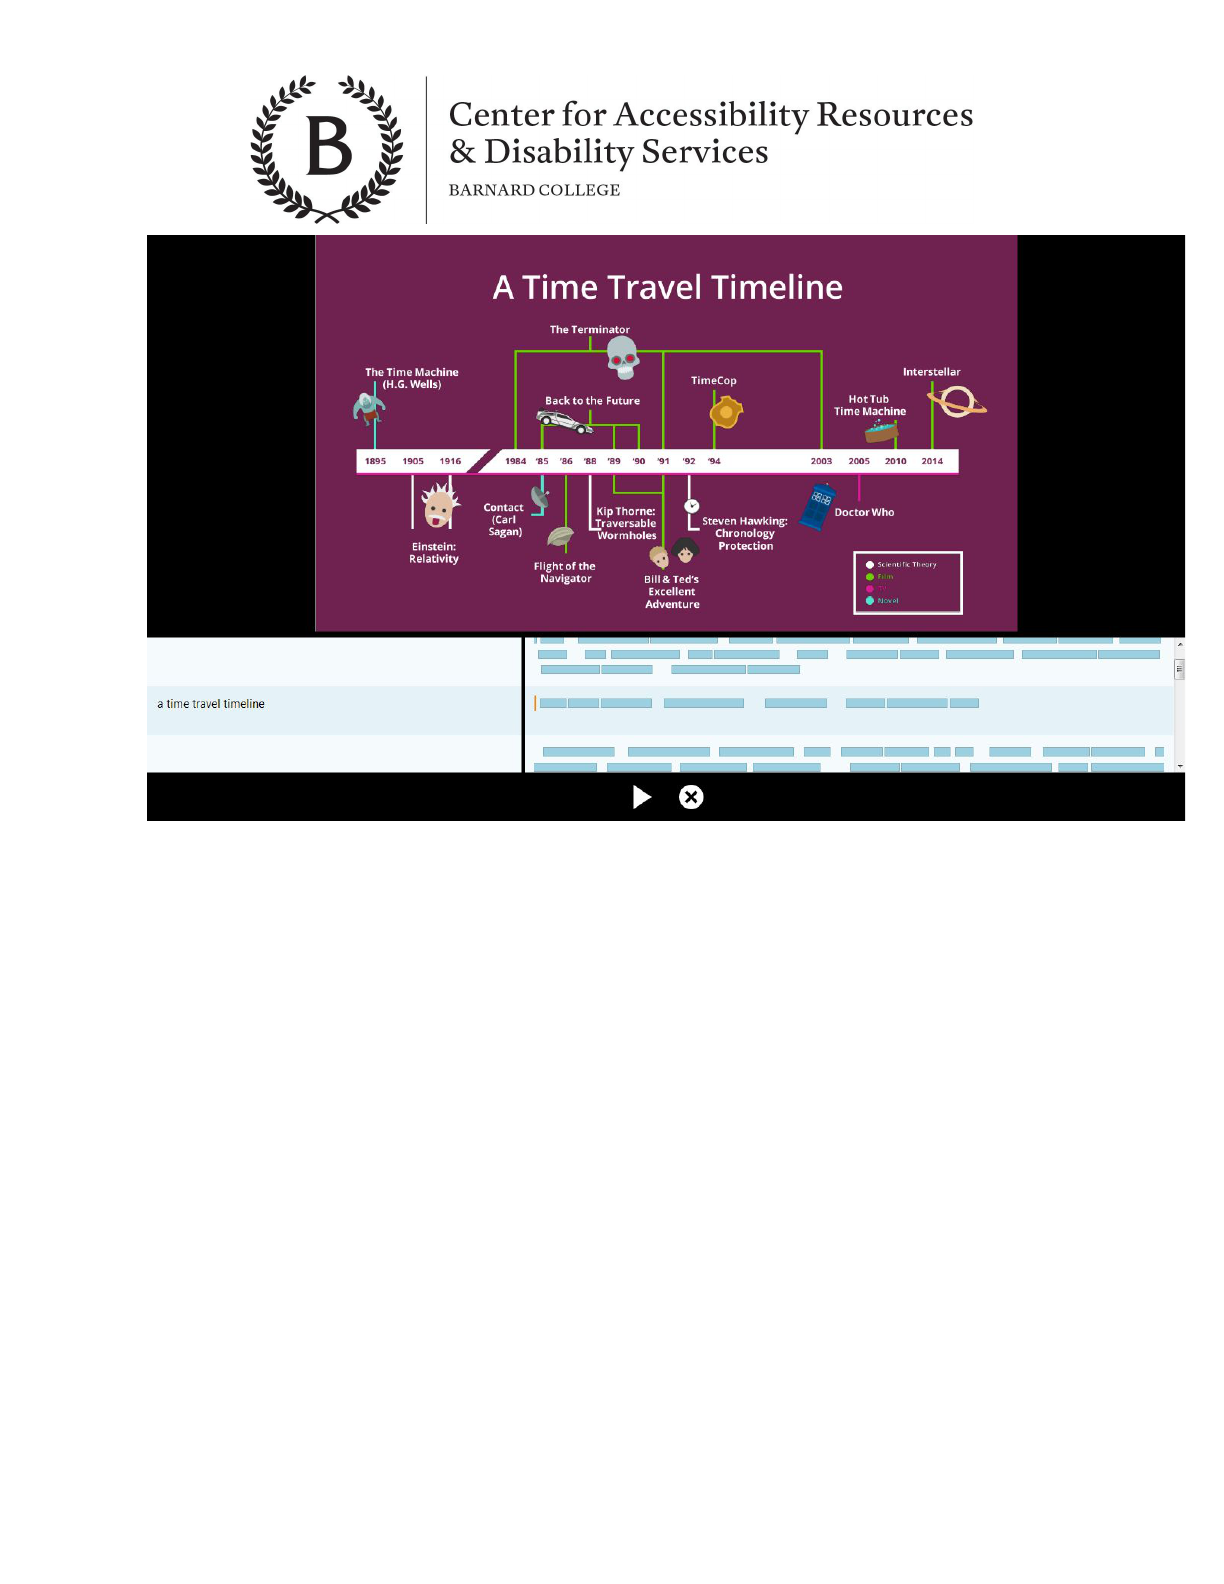
Click the “x” to exit this view.
To use your project elsewhere, click on the Export button and choose what you want to export:
● Export Audio as an Album
● Export Album to iTunes
● Export Selected Audio
● Export Audio and Images as Video
● Export Text and Images
15
